Wednesday, September 17, 2008

Diana Walstad's "el Natural" Approach to Planted Tanks

I've covered two other major schools of aquascaping for planted tanks before, but both of those are relatively high-tech, and high maintenance. For those of you who either don't have the time, patience, or just the wallet for a high-tech Dutch or Nature style tank, or for those of you who have been burned out by one, there is a third school.

This third school, often referred to as "el Natural," and sometimes Natural Planted Tanks (NPTs), is based on a low maintenance, low-tech approach pioneered by Diana Walstad. Outlined in her book, Ecology of the Planted Aquarium: A Practical Manual and Scientific Treatise for the Home Aquarist, the approach has several basic tenets:

  • Regular potting soil, capped by small gravel is used as substrate
  • No filtration is needed, aside from a powerhead for water movement
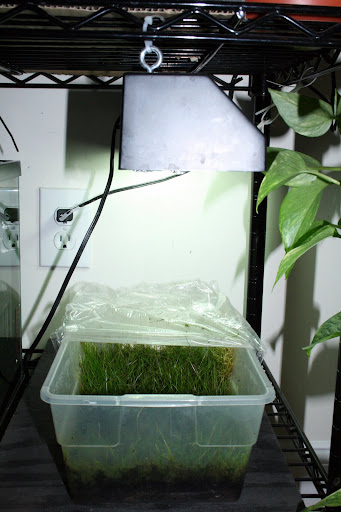
  • Lighting is low, 1-2 watts per gallon, and is often supplemented by sunlight from a window
  • No fertilization or CO2 is used, only liberal fish feeding
  • Water changes are done only ever 6 months or so
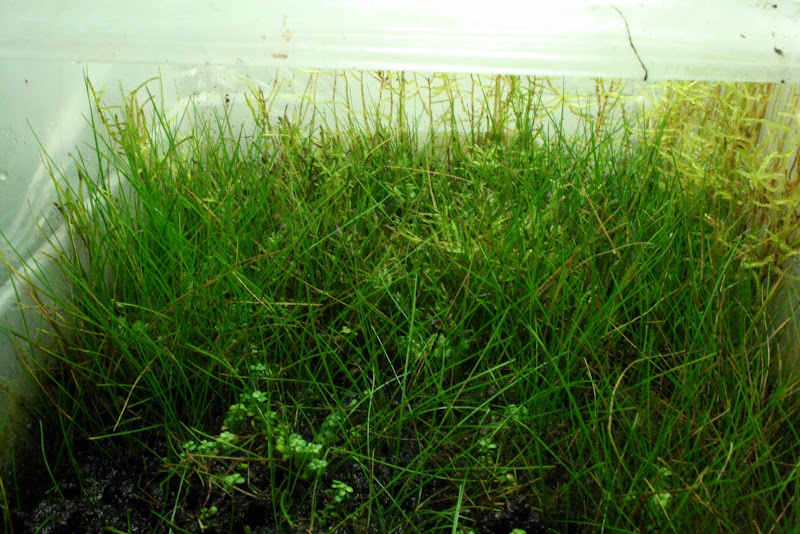
  • Plants will act as filters and fish will act as fertilizers, creating a balanced ecosystem
The end result is a tank that looks very different from any Dutch or Nature style aquarium, but that requires almost no maintenance, while maintaining a lush planted look. The types of plants available to someone starting an "el Natural" fish tank are somewhat limited, since lots of plants require high light and fertilization, but algae is rarely a problem. Unlike Dutch and Nature style aquariums, there is no set school for plant placement or composition of hardscape. This approach is also not designed for someone who likes to rescape their tank every few months, as moving plants around is difficult to do without disturbing the potting soil underneath the gravel. The natural soil substrate is probably the most volatile part of an "el Natural" style fish tank, and there are lots of do's and don'ts explained in Diana's book. However, once you get it set up, an "el Natural" style tank can be perfect for someone who is tired of dosing, testing, and re-dosing every day or for someone who just doesn't have the time for a high-tech aquarium.

For step by step pictures to setting up an "el Natural" style tank, check out Step by Step: Setting Up a Walstead Natural Planted Tank by Betty Harris. For more of Diana Walstad's tanks, check out her gallery.

Sunday, September 07, 2008

ADA Launches New Aqua Journal Online Website


Aqua Design Amano has recently launched a brand new English website called Aqua Journal Online. The website contains tons of useful information, including articles on Aqua Soil (which seems to be the focus for this first "issue" of the website), setting up a new Nature Aquarium, and some galleries of Takashi Amano's tanks. One of the best features, available under Suikei Data, is the ability to look at Amano's tanks and then be able to see the tank data, including size, lighting, filtration, plants, and more. Some of the sections aren't finished yet, but it looks very promising and there's already enough reading to keep you busy for a few hours, so go check it out!

Saturday, September 06, 2008

Growing Plants Emersed

In a previous article, I discussed what the difference was between submersed and emersed growth. Now, I'll show you how to set up your own emersed growth pots so you can experiment on your own. I've been growing HC, dwarf hairgrass, and moss emersed without problems. Stem plants probably won't do so well using this method, as they are much harder to convert. For quickly growing pre-made carpets though, this method can't be beat.

First, you'll need a shallow container. I use plastic Rubbermaid shoe-boxes available at most big stores like Target or Wal-Mart. They are the perfect size, since you'll want to cover your container with plastic wrap. Larger containers will also work, but may be harder to cover and keep sealed. Fill the container with about 1 inch deep of regular potting soil. Po
ur water in until the soil is just submerged but thoroughly wet. Then, take your plants and just put them gently in the soil. Once you have all of your plants planted, use plastic wrap to cover the container. You'll want a tight seal so the moisture doesn't evaporate. It might be necessary to use some tape to keep the plastic wrap from coming off. This will create a nice humid environment for your plants to transition to emersed growth so they don't dry out.

Once you have your container all set up, you can either put it in a sunny window or underneath some full-spectrum lighting. I chose to put it under a strip of lights (see above). Each week, just lift the plastic wrap up and using a spray-mister, mist the plants to replenish any lost water. Lifting up the plastic also allows new air to enter, replenishing any CO2 the plants have used. No fertilization is necessary, since all nutrients should be present in the potting soil.

Once your carpet has grown in, just gently lift the plants out of the potting soil, rinse them off to remove any extra soil in the roots, and plant them in your aquarium. It might be best to stick with one type of plant per container, since I tried HC, hairgrass, and moss all in one and they all grew together (see above). It makes it a bit difficult to separate, but very cool looking!

This method should work well for all mosses, most grasses, and most other carpet plants, like Hemianthus callitrichoides and Glossostigma elatinoides. Mosses in particular have very different emersed structures and can be quite cool looking. It's almost tempted me to start a palaudarium! Good luck.

Popular Posts

Sponsors

PetSmart

Planted Aquarium Books